Maria took a Buche de Noel baking class at Dandelion chocolate this year and was excited to make one for Christmas. There were a few slip ups but ultimately it did become a delicious rolled cake that looked like a log! recording the recipe and notes here for future use.
There are 4 parts to this recipe: The cake, the frosting, the sugared cocoa nibs and meringue mushrooms. This is a 2-day project!
Day before:
Prep the Chocolate Whipped Cream frosting an sugared cocoa nibs. Meringues might also be done this day or on the main baking day.
Chocolate Whipped Cream frosting:
- 410 g cream (almost a pint)
- 50 g milk
- 60 g sugar
- 80g ~75% chocolate
- Combine the cream, milk and sugar and heat to a simmer. Pour over the chocolate and let sit for a couple of minutes to melt the chocolate. blend with immersion blender to emulsify. Chill overnight
- the rest of the steps are for the main baking day.
Sugared Cocoa Nibs
- 60 g sugar
- 10 g water
- 60 g cocoa nibs
- Dissolve the sugar in the water and bring to a boil in a small saucepan.
- Stir in the cocoa nibs. Reduce the heat and stir rapidly until syrup crystallizes around the nibs. (This took longer than I expected but did eventually dry out. Keep stirring!)
- Shake off excess sugar in a strainer
- Save for later.
Meringues
- 4 egg whites, room temp
- 100 g sugar
- 100 g powdered sugar, sifted (keep separate from the granulated sugar)
- Whisk egg whites in mixer using whisk until they are frothy (in the class, he said until it looks like the froth on a poured beer). Gradually add the granulated sugar in a very fine stream and whip until the mixture is thick, glossy, with stiff peaks. THEN fold in the powdered sugar.
- Scoop the meringue into a piping bag and cut the end. Pip mushroom caps and stems onto a parchment lined sheet pan.
- Bake at 200 F until the meringue is crisp, about 1 hour (some of mine took 10-20 minutes longer if they were bigger)
- Hollow the caps with the point of a knife and attach the stems with a dab of melted chocolate.
Main baking day!
Bake the cake, frost, roll, and frost. Decorate with meringues.
The Cake
- 225 g 75% ish chocolate
- 75 g hot water (hotter than the melted chocolate)
- 8 eggs, separated, room temp
- 150 g sugar
- pinch salt
- Preheat the oven to 325F. Prepare a half-sheet pan by spraying the rim with pan spray and lining with parchment paper with a slight overhang.
- Melt the chocolate (microwave is fine!)
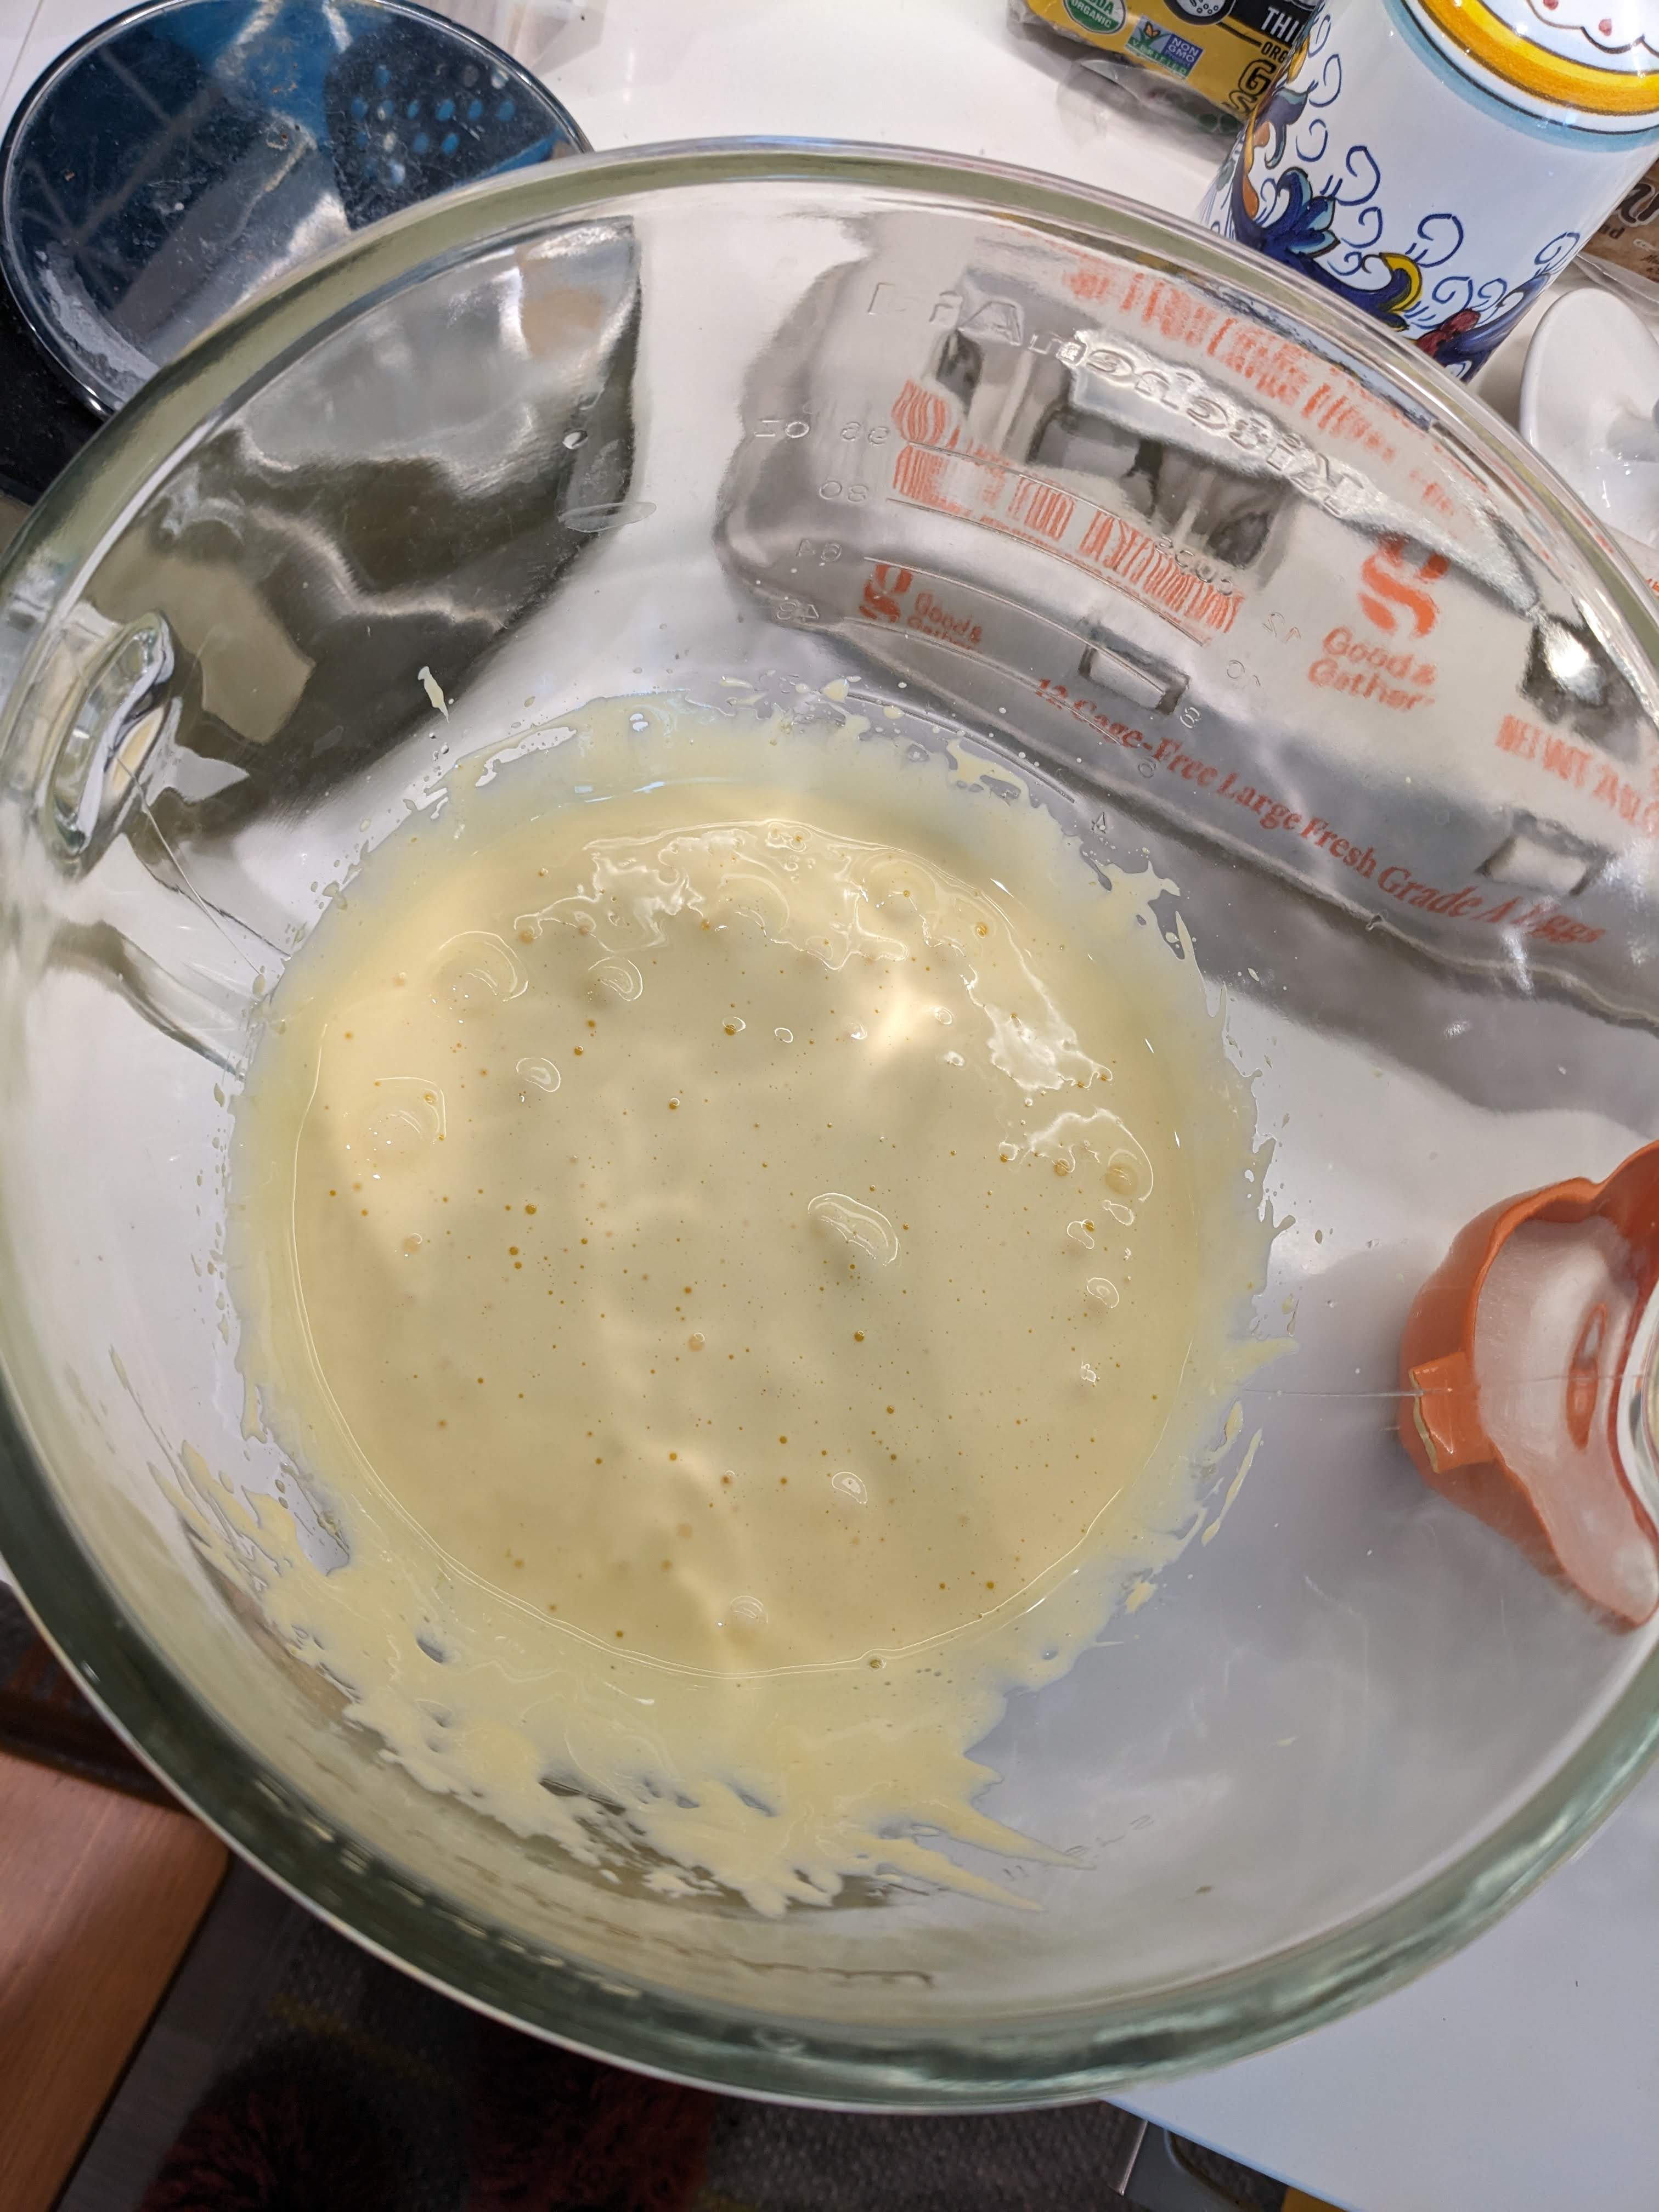
- Using an electric mixer with whisk attachment, whip egg yolks with half the sugar until very thick and light, about 5 minutes.

- In a super clean bowl and with clean dry whisk, whip egg whites at medium speed until foamy and opaque, then gradually add remaining sugar. Whip until firm peaks.

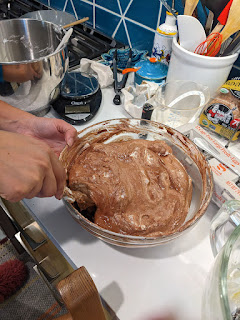
- Stir the hot water into the chocolate, being careful to smooth out any lumps. Soften the mixture by stirring in a small portion of the whipped egg whites.
- Fold the whipped yolks mixture into the melted chocolate. Then fold in the rest of the egg whites. Pour into the prepared pan and spread evenly.
- Bake for about 11 minutes (I think mine needed 2 more minutes). Let it cool and settle a bit in the pan. Free the cake from the edges of the pan with a knife, cover with a clean sheet of parchment paper, and flip onto a second half sheet pan. Remove the cake from the pan and peel away the parchment paper. invert so the cake is right side up.


Chocolate Whipped Cream Frosting (pt 2)
- Transfer the chilled cream/chocolate mixture into your electric mixer with whisk attachment. Whip to soft peaks.
Assemble!
- Spread about half of the whipped cream in a thin layer on the flat cake, leaving about 2 inches uncovered on the long side closest to you.

- Carefully roll the cake using the parchment paper to guide it, starting from the unfrosted edge closest to you. start with a tight fold (cake will likely crack a bit, don't give up!) and keep rolling. Wrap in paper and round it out. Chill in fridge to firm up slightly.

- Bring the cake out of the fridge. Trim rough edges a bit (snack time!). Cut a small edge at a diagonal for the tree branch and place somewhere at the side or top of the cake.
- Apply the rest of the whipped cream all over the outside of the cake. Use a large fork to comb the edges and give a tree-bark like texture.

- Remember those cocoa nibs we made yesterday? press them using a bench scraper to the case of the log to create a tidy finish.

- Garnish with meringue mushrooms and any other decorations just before serving.
- Can be refrigerated if not serving right away. Can be safe at room temp for a couple hours if not wanting to serve totally cold. Whipped Cream will stay pretty soft even straight from the fridge.


No comments:
Post a Comment